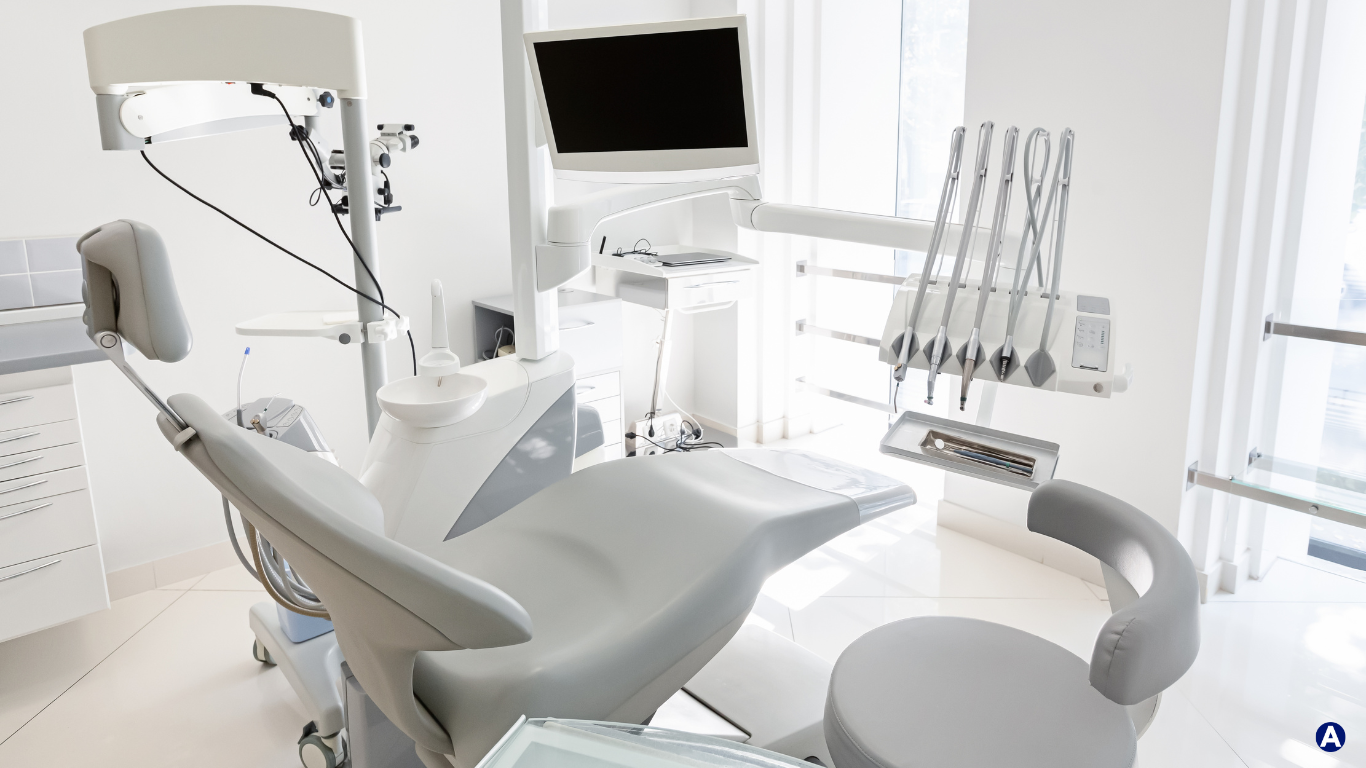
Dental composite materials have revolutionized restorative dentistry, offering aesthetic and durable solutions for repairing teeth. Achieving optimal results requires meticulous attention to detail, particularly when it comes to light curing. Proper light curing is crucial to ensure the longevity and strength of the dental composite restoration. In this blog post, we'll explore some valuable tips and tricks to enhance your light curing techniques for lasting and successful outcomes.
Choose the Right Curing Light: Begin by selecting a high-quality curing light that meets industry standards. LED curing lights are popular for their efficiency and versatility. Ensure that the light emits the appropriate wavelength (typically 440-490 nm) for activating the photo initiators in the composite material.
Check Light Intensity Regularly: Regularly monitor the light intensity of your curing device using a radiometer. Over time, the intensity of curing lights can decrease, leading to inadequate polymerization. Calibrate or replace the light source as needed to maintain consistent and effective curing.
Understand Curing Time Guidelines: Different composite materials have specific curing time recommendations provided by manufacturers. Familiarize yourself with these guidelines and follow them diligently. Insufficient curing time can result in under-polymerization, compromising the restoration's strength and longevity.
Properly Position the Light Tip: Maintain an optimal distance and angulation between the curing light tip and the composite material. Position the light tip as close as possible without touching the resin. This ensures that the light covers the entire restoration evenly, promoting uniform polymerization.
Use Incremental Layering: When placing composite layers, use incremental layering techniques. Applying thin layers helps in better light penetration and reduces the chances of incomplete curing. Each layer should be cured individually before adding the next.
Address Cavity Configuration: Adapt your curing technique to the specific cavity configuration. For deep or complex cavities, consider using a ramp-up technique—start with a lower intensity for the first few seconds before reaching full intensity. This prevents the formation of a thin, uncured layer at the bottom of the restoration.
Consider a Pulse Cure Technique: Some curing lights offer pulse-curing modes. Experiment with pulse curing to minimize heat generation while maintaining adequate polymerization. This can be particularly beneficial for large restorations or cases where temperature sensitivity is a concern.
Monitor Ambient Light: Be mindful of ambient light in the operatory, as it can interfere with the curing process. Work in a dimly lit environment or use protective barriers to shield the restoration from external light sources during the curing procedure.
Educate Patients on Post-Curing Care: Provide post-curing care instructions to patients. Advise them to avoid biting hard objects immediately after the procedure and educate them on maintaining good oral hygiene practices to ensure the longevity of the restoration.
Stay Informed and Update Techniques: Dentistry is an evolving field, and new technologies and techniques are constantly emerging. Stay informed about the latest advancements in light-curing technology and update your techniques accordingly to provide the best possible care for your patients.
Mastering the art of light curing is essential for achieving durable and aesthetically pleasing dental composite restorations. By following these tips and tricks, you can enhance your light curing techniques and contribute to the long-term success of your patients' dental treatments. Remember, precision and attention to detail in every step of the process are key to ensuring lasting and reliable outcomes.


