It’s easy to find a dentist feeling frustrated on any given day, especially when things aren’t going smoothly. I’ve certainly experienced my share of frustration, but I’ve also learned a few strategies that help set me up for success and minimize daily challenges. As a general practitioner focused on restorative dentistry, I know that some days can stretch longer than others. In my practice, which revolves around the bread-and-butter procedures of dentistry; I have made several daily adjustments that have significantly improved my restorative care. I hope these insights can be beneficial to you as well!
1. Read The Instructions
Yes, you read that right—just read the instructions! As a practicing general practitioner, I admit that I often overlook this essential steps. After performing the same procedure countless times, it’s easy to feel like you’ve mastered it. But here’s a question for you: do you know how long the bond you’re using should be applied before air drying? Or whether the resin material has a curing depth of 2mm or 4mm? These may seem like simple questions, but if you’ve been following the same routine for years, how can you be certain? In a busy practice, it’s all too easy to overlook these details. So take a moment to read the instructions and ensure you’re on the right track!
2. Get a Timer
Speaking of following instructions, let me ask you: how many of you are counting down the seconds—20 seconds, 10 seconds, or even an odd 7 seconds? In our busy profession, time is of the essence. When you're operating under "doctor time," it’s crucial to ensure that protocols are followed precisely. I took a moment to time myself, and let me tell you, the results were eye-opening.
Starting with a 5-second interval, I thought I was close but ended up at just 4.5 seconds. Then, I tried timing a 20-second bond application, and the outcome was even more surprising—I clocked in at only 12 seconds! I genuinely believed I was close to the recommended time, counting with “Mississippi seconds” for accuracy. However, that’s a staggering 40% less time than what the manufacturer suggests for the bond I use!
The manufacturers have done the research; the least we can do is follow their guidelines. Each bond, etch, and resin is different, so if you’re unsure, don’t hesitate to double-check. You might get away with shortcuts occasionally, but if you’re experiencing issues like tooth sensitivity, debonding, or frustrated patients, consider this your opportunity to revisit the fundamentals. Take the time to determine the correct application times and implement a timer—it could make all the difference!
3. Rubber Dam
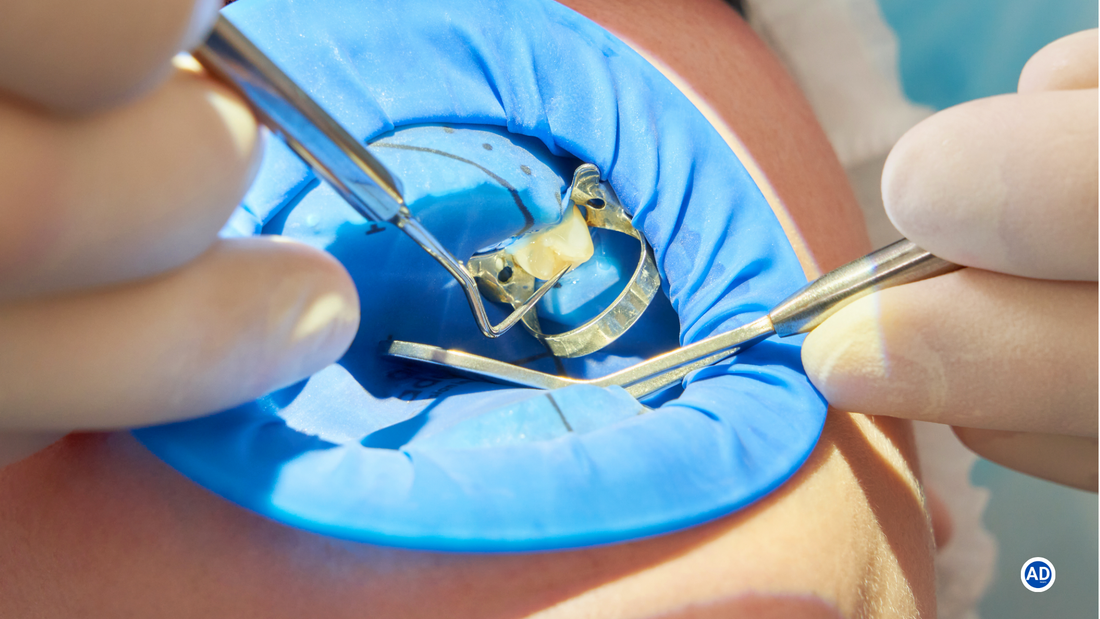
I know, I know—you hear this recommendation all the time, and I get it: placing a rubber dam can feel like a hassle. However, let me assure you that once it’s in place, restorative procedures become significantly easier and safer. I can’t count the number of times I’ve been in the midst of removing an old amalgam, only to have a chunk break off, leading to frantic moments as my dental assistant tries to suction to prevent aspiration. I’d much rather deal with the minor inconvenience of placing a rubber dam than worry about immediate suctioning!
Using a rubber dam not only reduces stress for you and your dental assistant but also creates an unparalleled field of isolation. With today’s advancements in composite resins, a drier and more isolated working area is crucial for optimal bonding results. That tiny spot of moisture you see may not just be water—it could be saliva or gingival crevicular fluid. Even a small amount of saliva, especially on the gingival floor, can severely impact the longevity of your restoration and negatively affect bond strength.
Implementing a rubber dam can dramatically improve your outcomes. If you're looking for guidance on how to use one, just search “rubber dam” on YouTube for a wealth of resources. One resource I particularly recommend is "Tips and Tricks for Basic Rubber Dam" by Romero Dental Seminars. While I can’t take credit for it, it’s a fantastic video!
Transitioning to using a rubber dam might take some time, but once it becomes a standard part of your clinical protocol, you’ll find that it makes your life much easier. Bonus points if you empower your dental assistants to place the rubber dam themselves!
4. Angle Your Curing Light Correctly
This may seem like a simple tip, but angling your curing light properly is crucial. An incorrect angle can lead to a host of issues, including microleakage, reduced bond strength, discoloration, post-operative sensitivity, and recurrent decay. All of these factors can adversely affect the quality of your treatment, stemming from something as minor as how you position your curing light.
To achieve the best results, ensure that your curing light is perpendicular to the composite you are curing. While it’s true that you can’t over-cure composite, under-curing is a real concern. I often find myself engrossed in conversation while curing, only to glance at the light partway through and realize it’s only hitting half of the tooth at an upward angle. It’s an easy mistake to make—believe me, I’ve done it too!
Having good visibility is key, which is where a rubber dam comes in handy. If you're unsure about your angle, don’t hesitate to readjust the curing light and start over. Just be mindful that you can overheat the tooth during this process. When I ask for another cure, I typically have my assistant apply air (definitely no water!) to keep the surface temperature safe. Taking these precautions can make all the difference in your restorative outcomes!
5. Check Your Equipment
It may seem simple, but thoroughly checking your equipment can often be overlooked. Ensuring that everything is functioning properly is essential for a smooth practice. Here are some key areas to focus on:
- Curing Lights: Test your curing lights regularly and consult the manufacturer to confirm which light frequency tester you should use. Also, verify that you’ve selected the correct curing time and intensity. There's nothing more frustrating than believing you’ve cured for the full 5 seconds only to find out you weren’t fully effective.
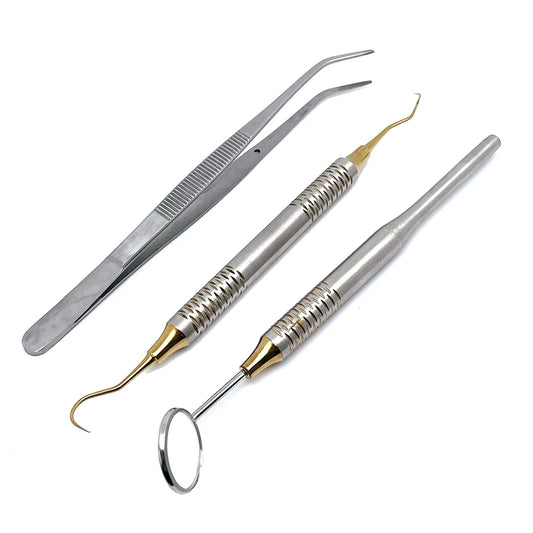
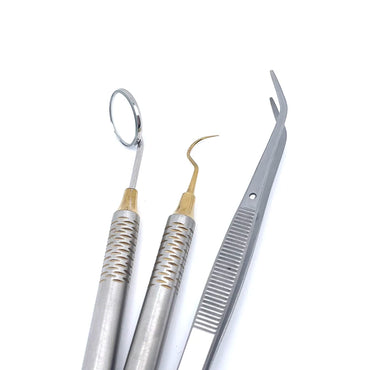
- Mirrors: Those sneaky bonds can sometimes cling to the mirror during air drying, leading to decreased visibility, especially while curing. If you find yourself struggling to see clearly, don’t hesitate to replace that mirror! Always examine sterilized mirrors before each use to ensure optimal visibility.
- Composite Resins: Have you checked the expiration dates on your composite resins? If a resin isn't flowing as it should, it may be past its prime, so swap it out for a fresh one.
- Chairs: You can usually tell right away if something’s off with your dental chair. Since your livelihood depends on it functioning well, don’t take any chances if it’s not performing up to par.
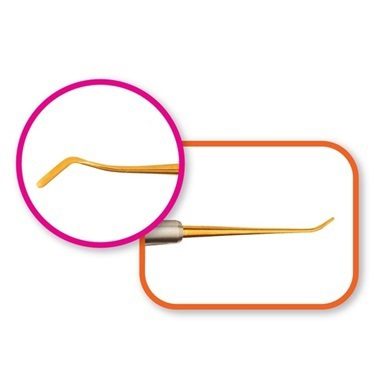
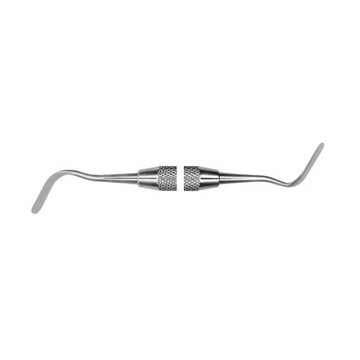
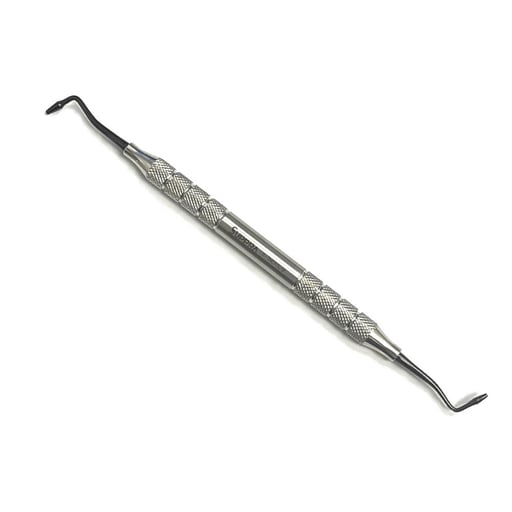
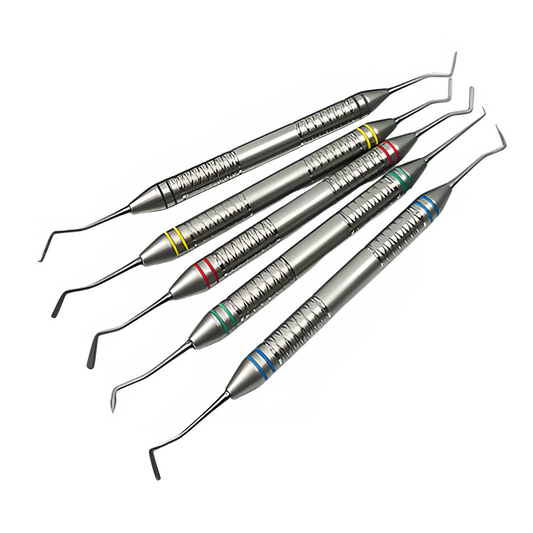
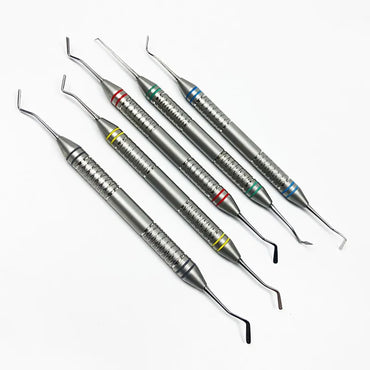
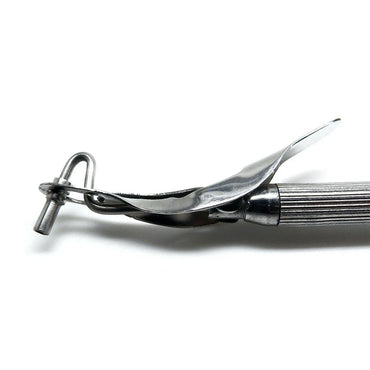
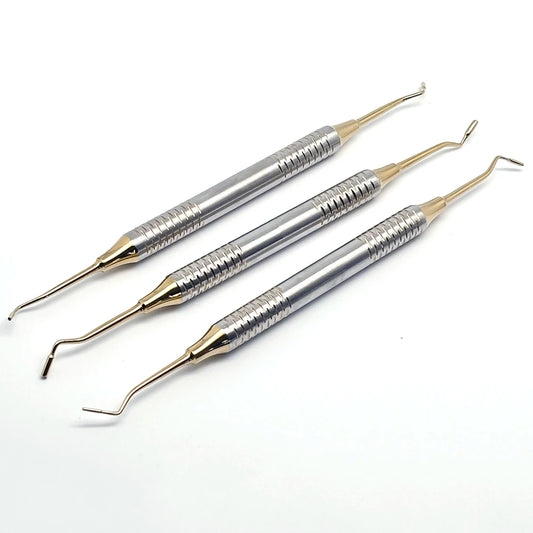
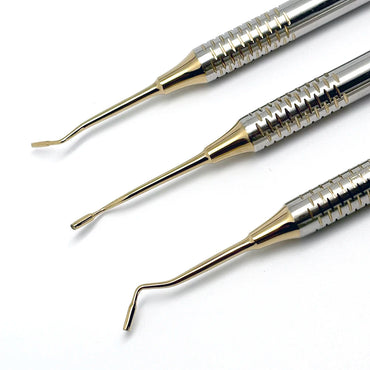
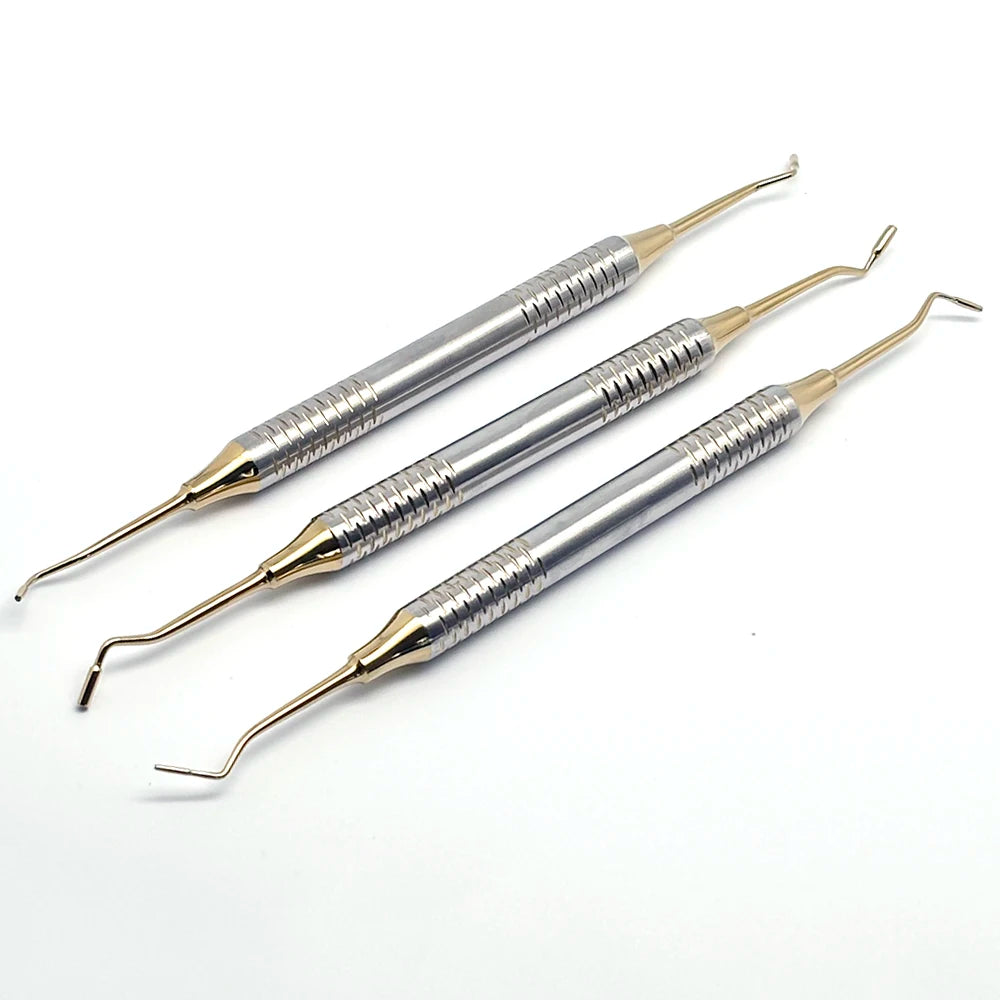
- Instruments: It’s incredibly frustrating to grab a tool that isn’t working as intended. If a tool keeps sneaking back into your cassette despite its unreliability, it’s time to let it go! I personally check my tools regularly to ensure they’re functioning properly, maximizing efficiency by only including those that truly serve a purpose in my cassettes.
- Nitrous Delivery System: There are many ways a nitrous cart can malfunction, so it’s best to check it before each appointment. The more you use this service, the more critical it is to ensure everything is in working order.
By taking a few moments to check your equipment, you’ll help ensure that your practice runs smoothly and efficiently!
Prioritize Your Well-Being
It’s essential to ensure that you are in a good mental and physical state to provide optimal care for your patients. If you’re not feeling your best, your patients will likely notice. Make time for regular exercise, eat nutritious foods, express gratitude, and strive to enjoy life. Take a moment to check in with yourself and ensure that you are thriving rather than just surviving.
There you have it—five straightforward actions you can implement today to immediately enhance your restorative practice. Each topic I’ve covered could be explored in greater depth, but I trust that you’re all savvy professionals. If you have any questions or would like more information, please don’t hesitate to reach out. Remember, if you’re struggling with aspects of patient care or self-care, you’re not alone. Stay connected and support one another!


