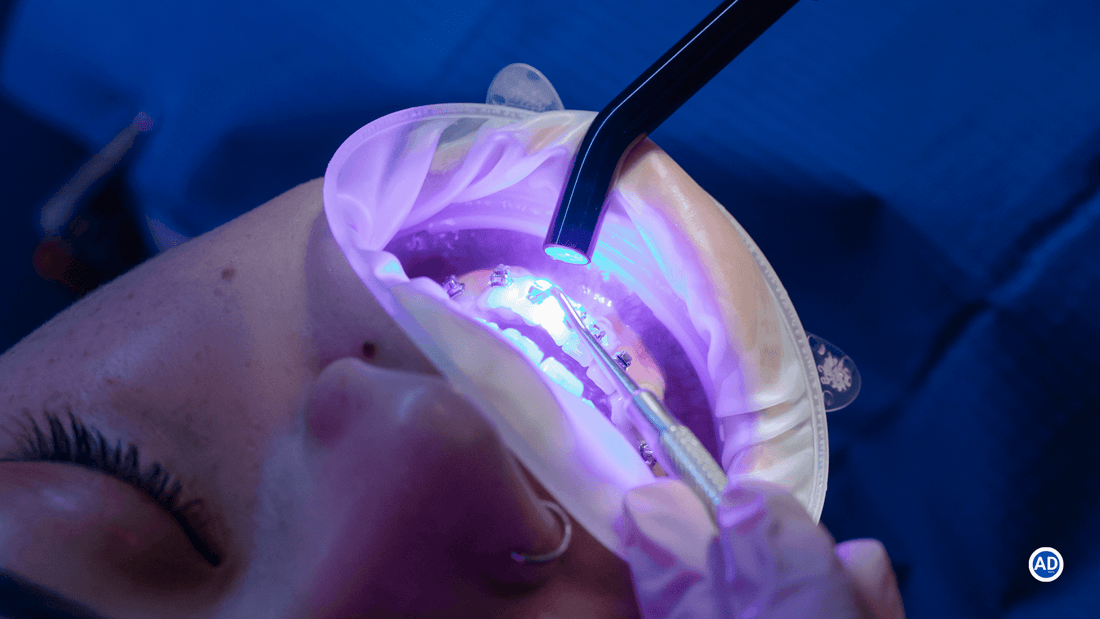
Dental curing lights are essential tools in modern restorative dentistry, playing a critical role in polymerizing light-cured materials such as resin composites, adhesives, and sealants. While they are an everyday fixture in dental practices, improper use can significantly impact the quality of restorations, leading to issues such as weak bonds, failed restorations, and post-operative sensitivity. In this post, we will explore five common mistakes dentists make when using curing lights and offer practical tips to avoid them.
1. Incorrect Positioning and Angling of the Curing Light
One of the most frequent mistakes when using a curing light is improper positioning or angling of the light tip. Light-cured materials need to receive the full intensity of the curing light for effective polymerization. If the light is positioned at an incorrect angle or too far from the material, the light output may not adequately reach the entire restoration.
Why It Matters: When the light doesn’t fully cover the restoration, it can lead to uneven curing, resulting in areas of weak bonding. This can cause premature failures, marginal breakdowns, or the need for additional procedures to fix the issue.
How to Avoid It:
- Always position the curing light as close to the tooth as possible, ideally within 1-2 millimeters of the surface.
- Ensure the light tip is directly over the material and as perpendicular to the tooth surface as possible to ensure even coverage.
- Check for any obstacles, such as lips or adjacent teeth, that could block the light, and adjust accordingly.
2. Insufficient Curing Time
Another common error is not curing the material for the recommended amount of time. Different materials and brands of resin composites require varying curing times, typically ranging from 10 to 40 seconds. Rushing through the curing process by not following the manufacturer's guidelines can lead to incomplete polymerization.
Why It Matters: Under-cured materials may not reach their full strength, resulting in weaker restorations. This increases the likelihood of fractures, marginal leakage, and post-operative sensitivity for the patient.
How to Avoid It:
- Always refer to the manufacturer’s instructions regarding curing time for the specific material you're using.
- Ensure that your curing light’s intensity is compatible with the resin you're working with. Higher intensity lights may require shorter curing times, while lower intensity lights need longer curing periods.
- If in doubt, err on the side of slightly longer curing times to ensure full polymerization.
3. Not Checking Curing Light Intensity Regularly
Over time, the output of curing lights can degrade due to wear and tear, dirty light tips, or depleted batteries. Many dentists fail to regularly check the intensity of their curing lights, assuming they are still functioning at full capacity. However, if the light intensity is too low, it won’t deliver enough energy to fully cure the material.
Why It Matters: Using a curing light with reduced output can result in inadequate polymerization, even if you follow the correct curing time. This can compromise the integrity of restorations and lead to premature failures.
How to Avoid It:
- Regularly check your curing light's intensity using a radiometer or light meter. Most manufacturers recommend performing this check monthly.
- Clean the light tip regularly to remove any debris or composite buildup, which can reduce light output.
- Replace aging bulbs or batteries as needed to maintain optimal performance.
4. Inconsistent Curing Across the Restoration
Large or deep restorations can pose a challenge when using a curing light, as some areas may receive less light exposure than others. Dentists may overlook the importance of curing in layers or fail to adequately cure the material at the base of deep cavities.
Why It Matters: Inconsistent curing across different parts of a restoration can lead to uneven polymerization. The top layers may be fully cured while the deeper layers remain under-cured, resulting in weak bonds and compromised restorations.
How to Avoid It:
- For larger restorations, cure in smaller, incremental layers (2 mm or less). This allows each layer to receive sufficient light exposure and fully polymerize before applying the next one.
- Use a curing light with a broad beam or multiple wavelength capabilities to ensure thorough curing in hard-to-reach areas.
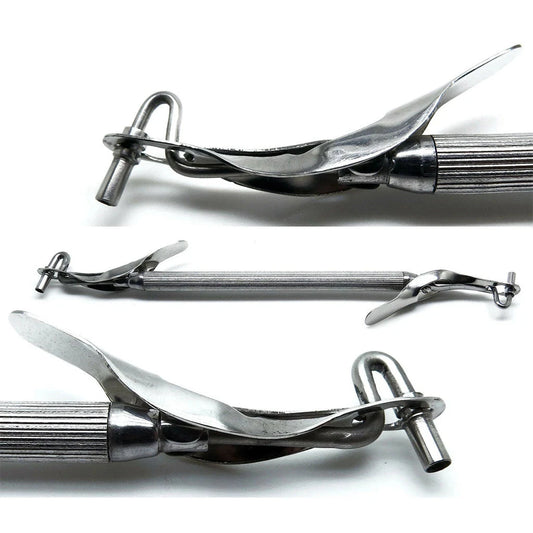
- If the restoration is particularly deep, consider curing the base layer from multiple angles or using a reflective wedge to ensure adequate light penetration.
5. Ignoring the Importance of Wavelength Compatibility
Not all curing lights are compatible with every type of light-cured material. Some materials are designed to be polymerized with specific wavelengths of light. For example, many modern composites require lights with multiple wavelengths to fully cure the material. Using a curing light with an incompatible wavelength can lead to incomplete curing.
Why It Matters: Materials that aren’t properly cured due to wavelength incompatibility will not reach their intended strength, resulting in failed restorations, sensitivity, or the need for premature replacement.
How to Avoid It:
- Before using a curing light, ensure it emits the correct wavelength range for the materials you are using. Most contemporary curing lights offer a broad spectrum (e.g., 400-500 nm) to accommodate various materials.
- If your practice frequently uses different types of resin composites, consider investing in a multi-wavelength curing light to ensure compatibility with all materials.
Dental curing lights are indispensable tools, but improper usage can compromise the quality of restorations and negatively impact patient outcomes. By paying attention to proper positioning, curing times, light intensity, and wavelength compatibility, dental professionals can ensure they get the most out of their curing lights and deliver strong, durable restorations.
Regular equipment maintenance and adherence to best practices can make all the difference in achieving long-lasting, successful results for your patients. Take the time to evaluate your current curing techniques and see if any of these common mistakes might be impacting your results—small changes can lead to significant improvements in patient care.


